
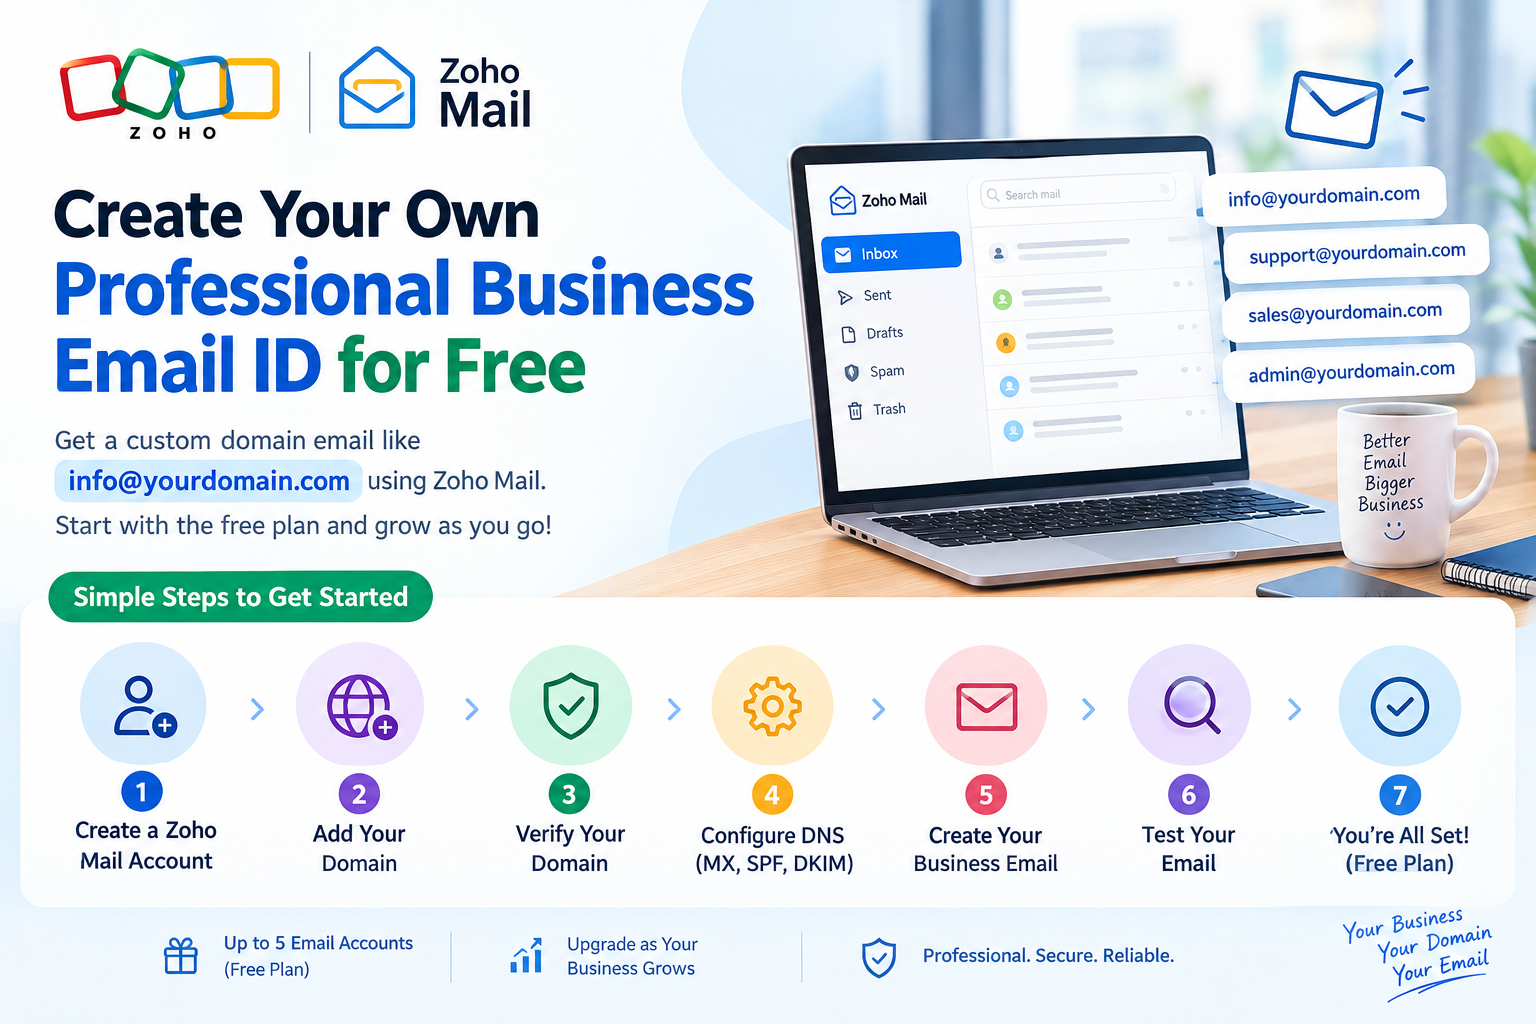
In this article, you’ll learn how to create your own professional business email address for free using Zoho Mail.
The surprising part is that Zoho offers a free email hosting plan for eligible users, allowing startups and small businesses to create professional email addresses using their own domain without paying a monthly subscription.
In this step-by-step guide, we’ll show you how to create a free business email with Zoho, how to connect your custom domain, and what you need to get started.
What Do You Need to Create a Free Business Email?
Before we continue, there is one important requirement: you must own a custom domain name.
For example, if your business website is:
yourbusiness.comYou can create professional email addresses such as:
info@yourbusiness.com
support@yourbusiness.com
contact@yourbusiness.com
If you already own a custom domain, you can proceed with the setup and create your professional business email with Zoho.
You can create up to 5 email accounts with the Zoho Mail Free Plan. As your business grows, you can upgrade your plan to create more email accounts.
Let's Create Your Own Professional Business Email ID for Free
1. Create a New Zoho Mail Account
First, you need to create a new Zoho Mail account for your business. For example:
support@yourbusiness.com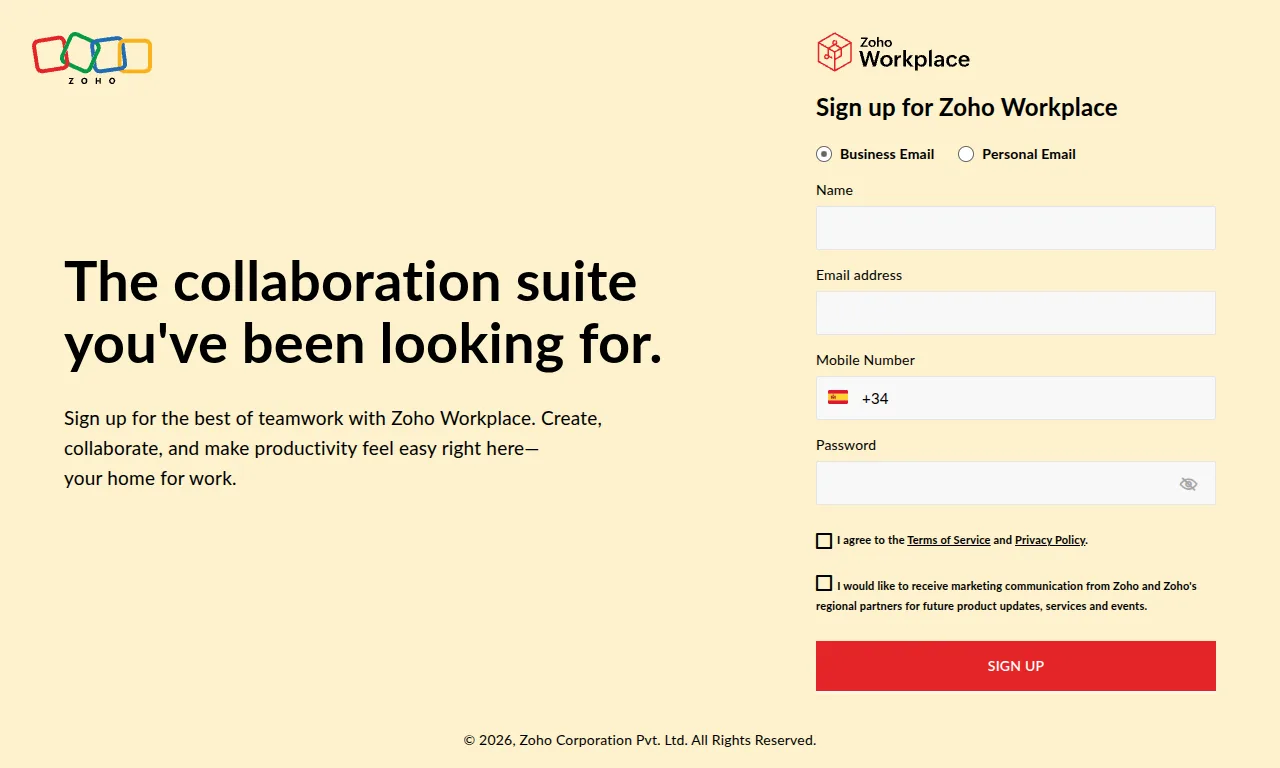
2. What to Do After Creating Your Business Email
After you create your professional business email account, you should be redirected to the page shown in the image below.
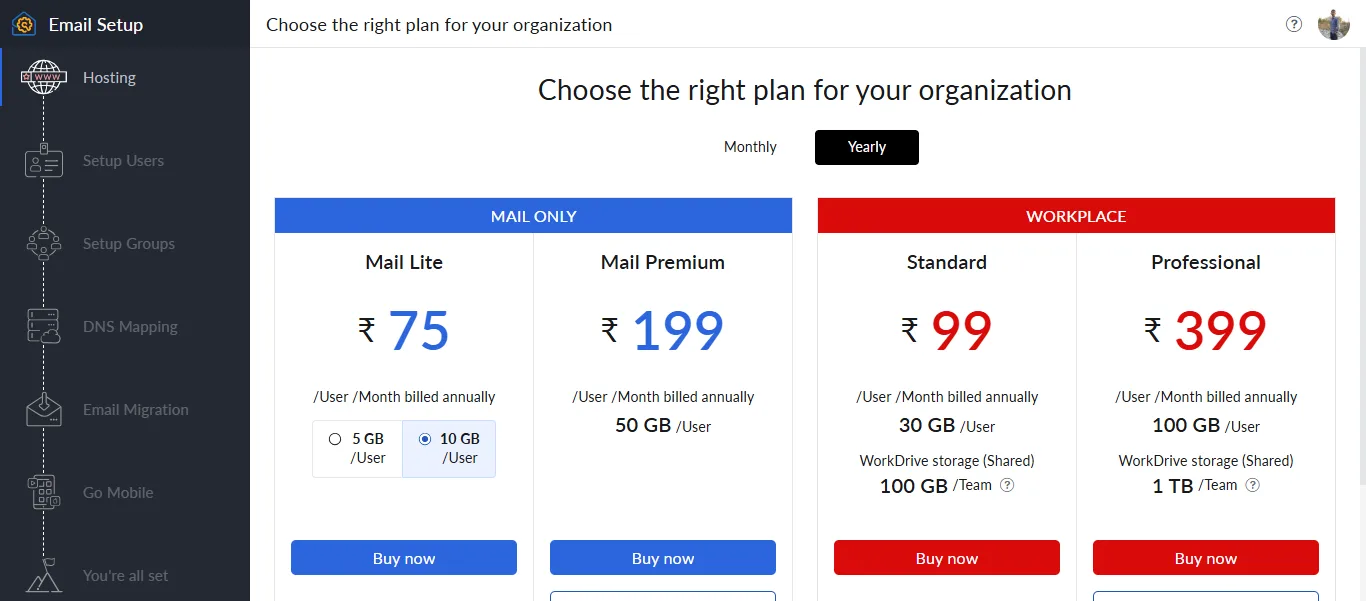
Once you reach this page, come back to this article and click on the “Free Access Hosting” link.
After clicking “Free Access Hosting,” you will be redirected to the page shown in the next image.
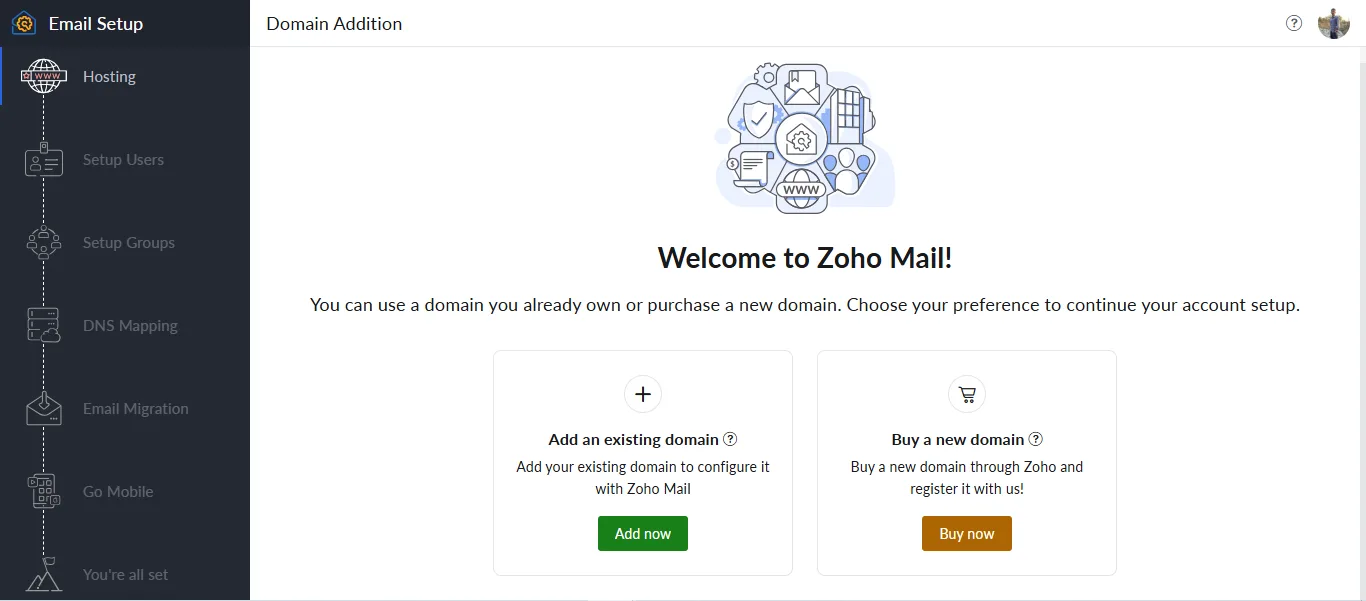
You can then continue the setup process and access the available free Zoho email hosting option for your custom domain.
If you don't have a domain yet, you can also buy a new domain. If you already have a domain, click "Add Now" and fill in the required details as shown in the image below.
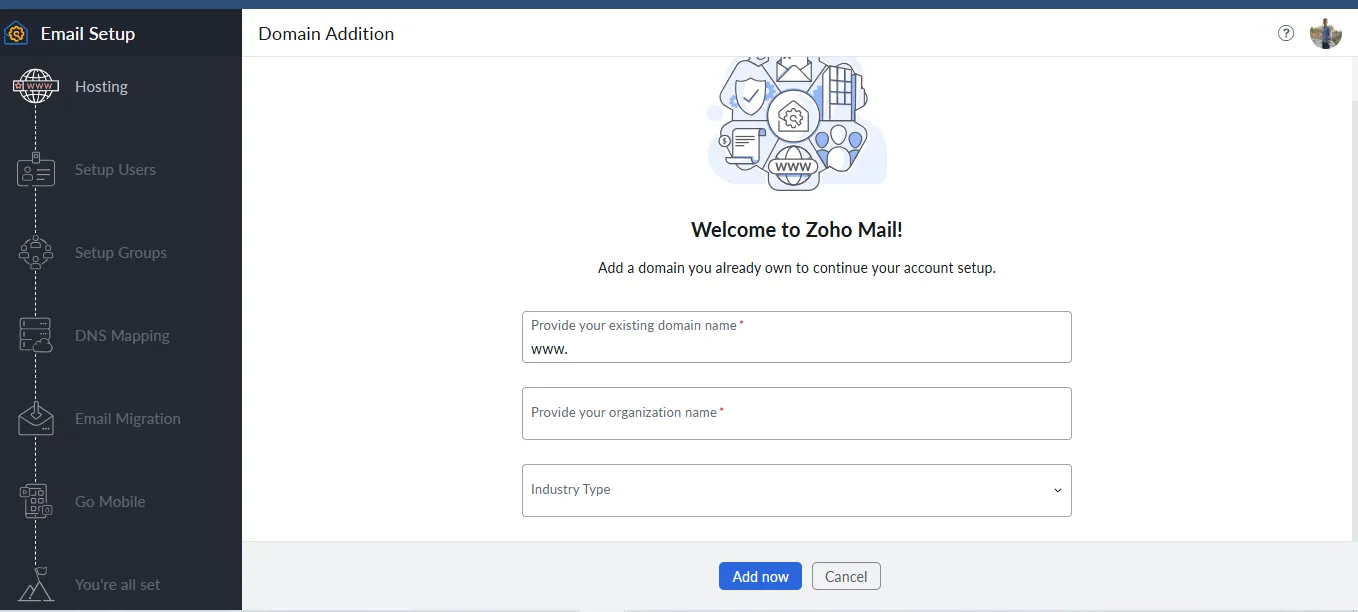
After filling in all the required details, you will be redirected to the following page, as shown in the image below.
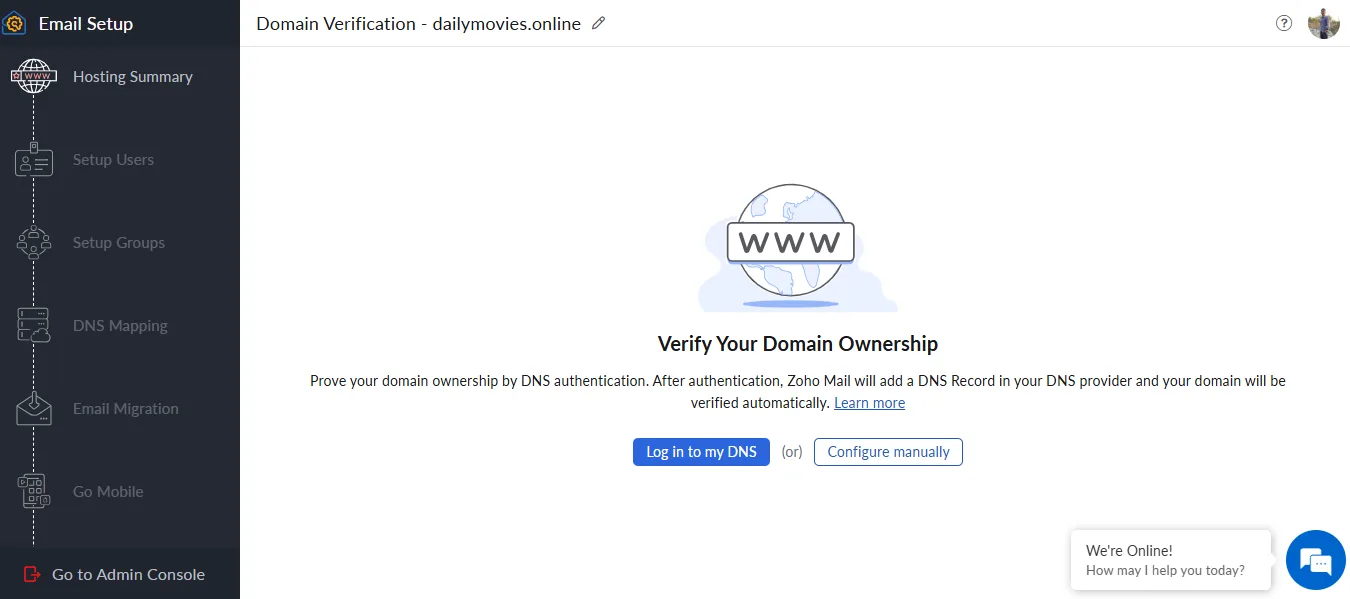
After reaching this page, you can configure your DNS manually by adding each record one by one. This method is recommended if your DNS provider is supported.
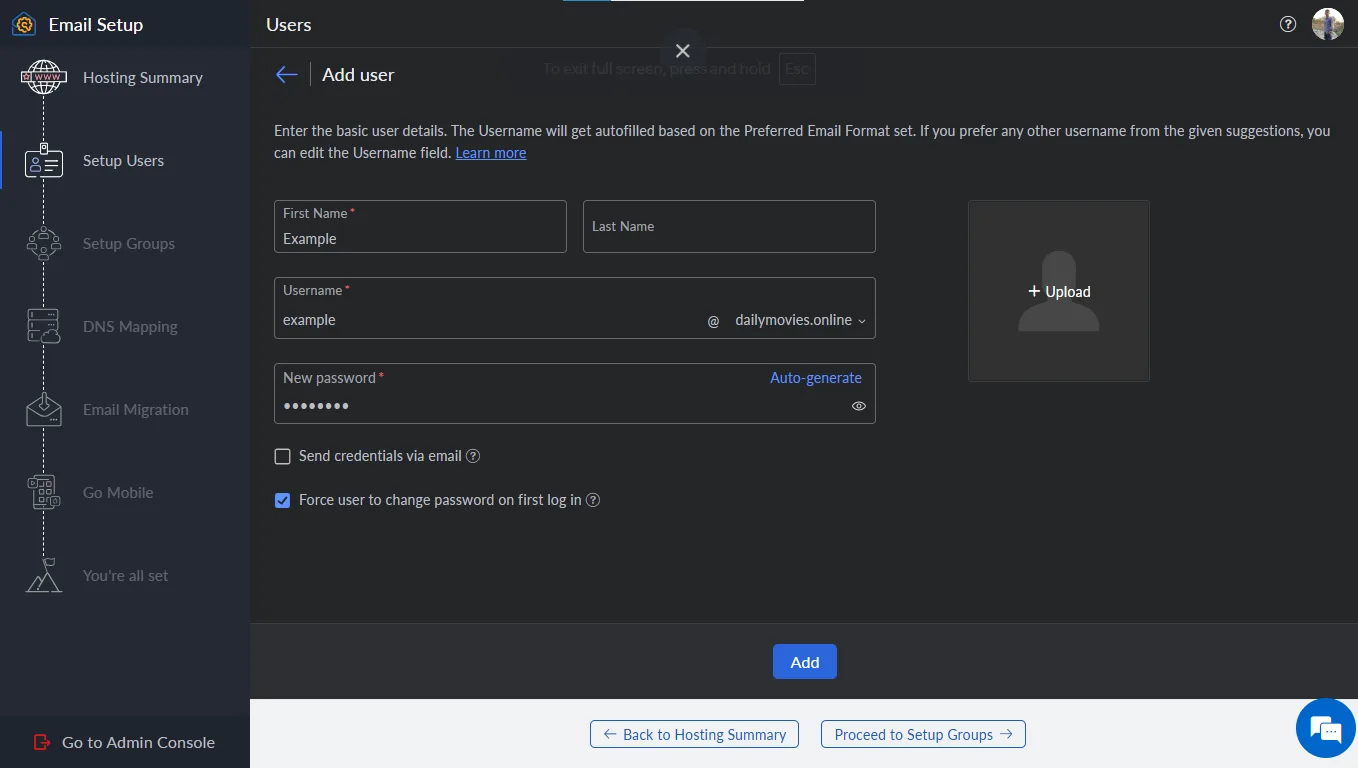
Once the setup is complete, you're good to go.
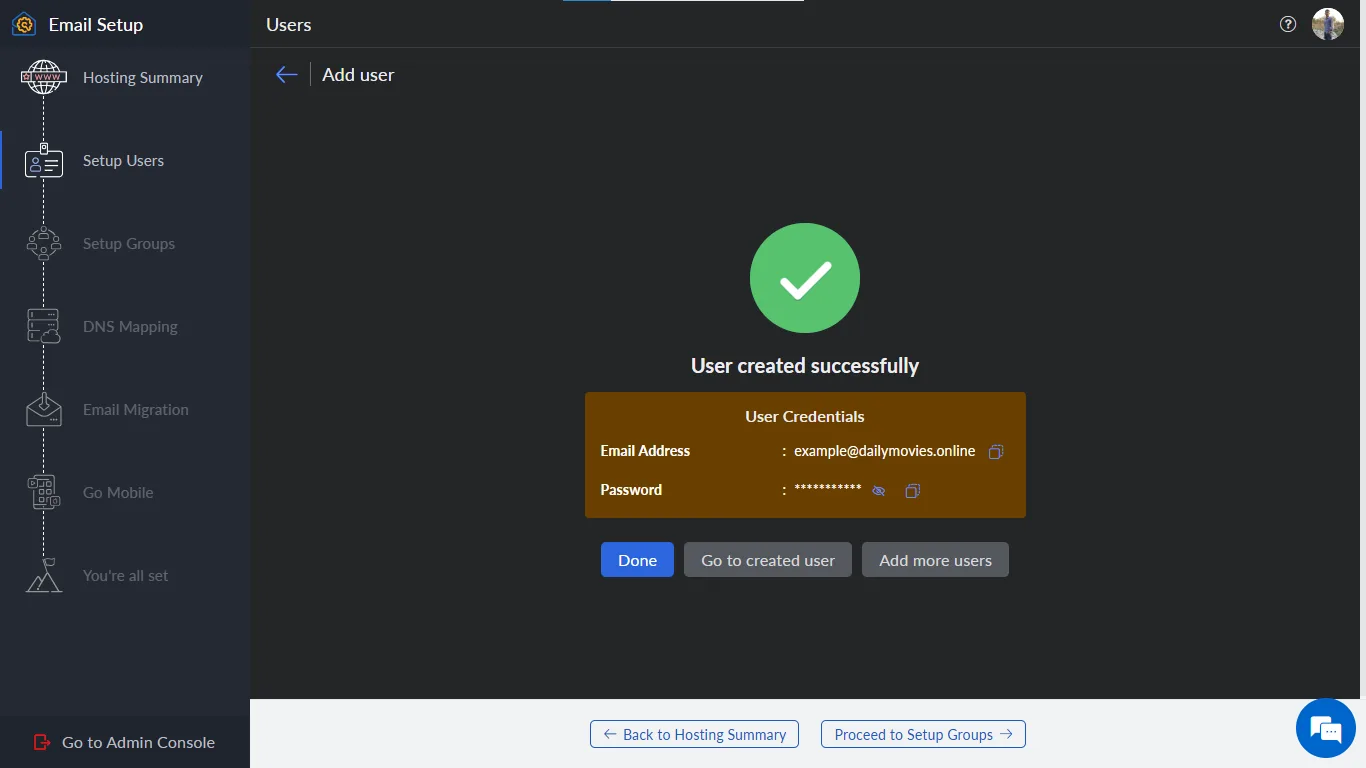
Now, you need to verify your DNS mapping.
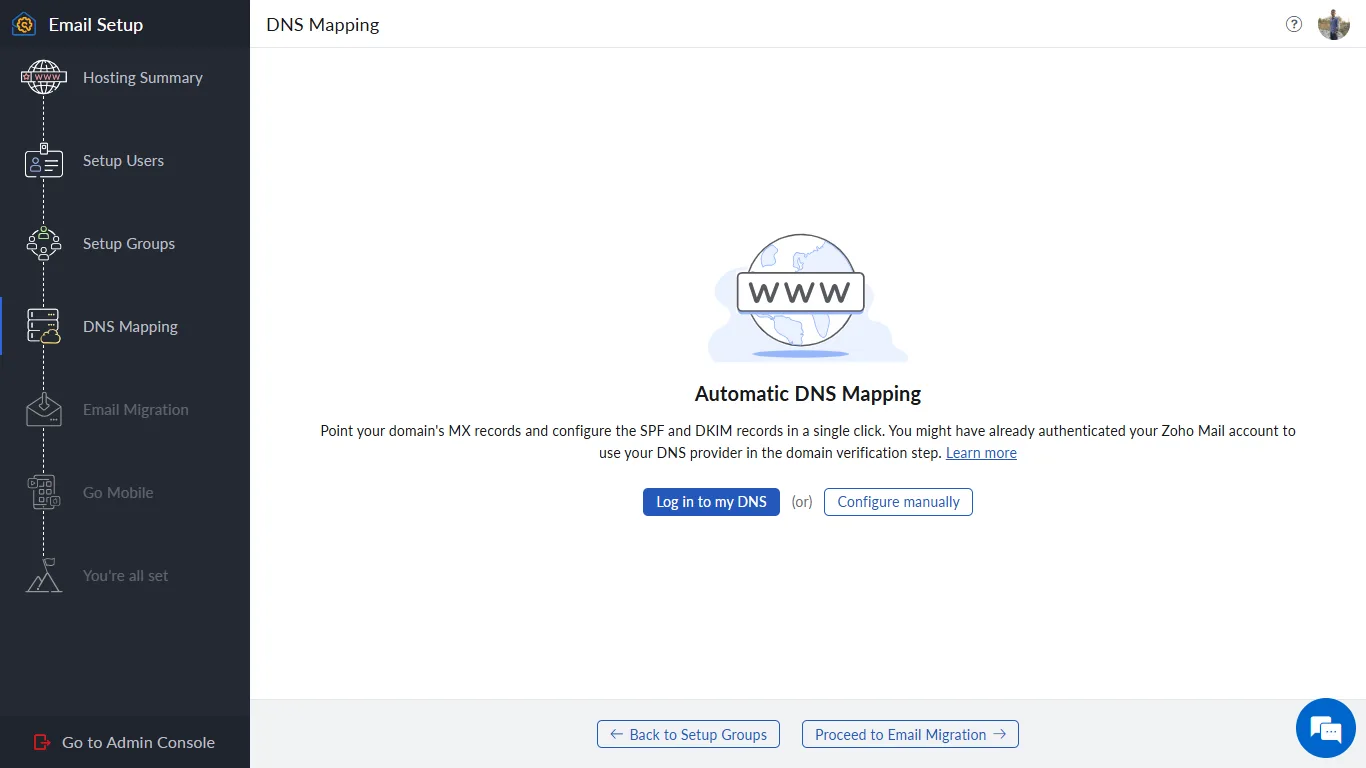
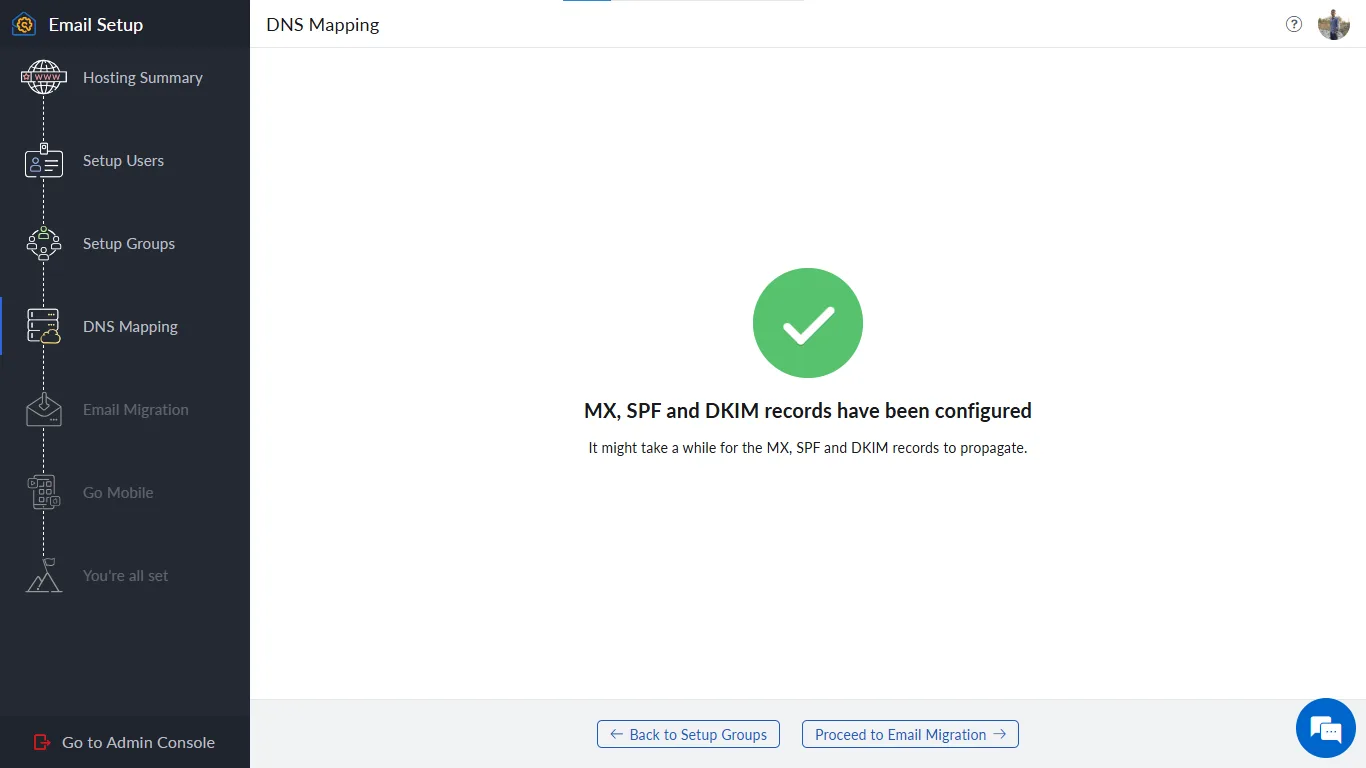
Once the DNS mapping is successfully verified, you have successfully created your professional business email using Zoho Mail for free.
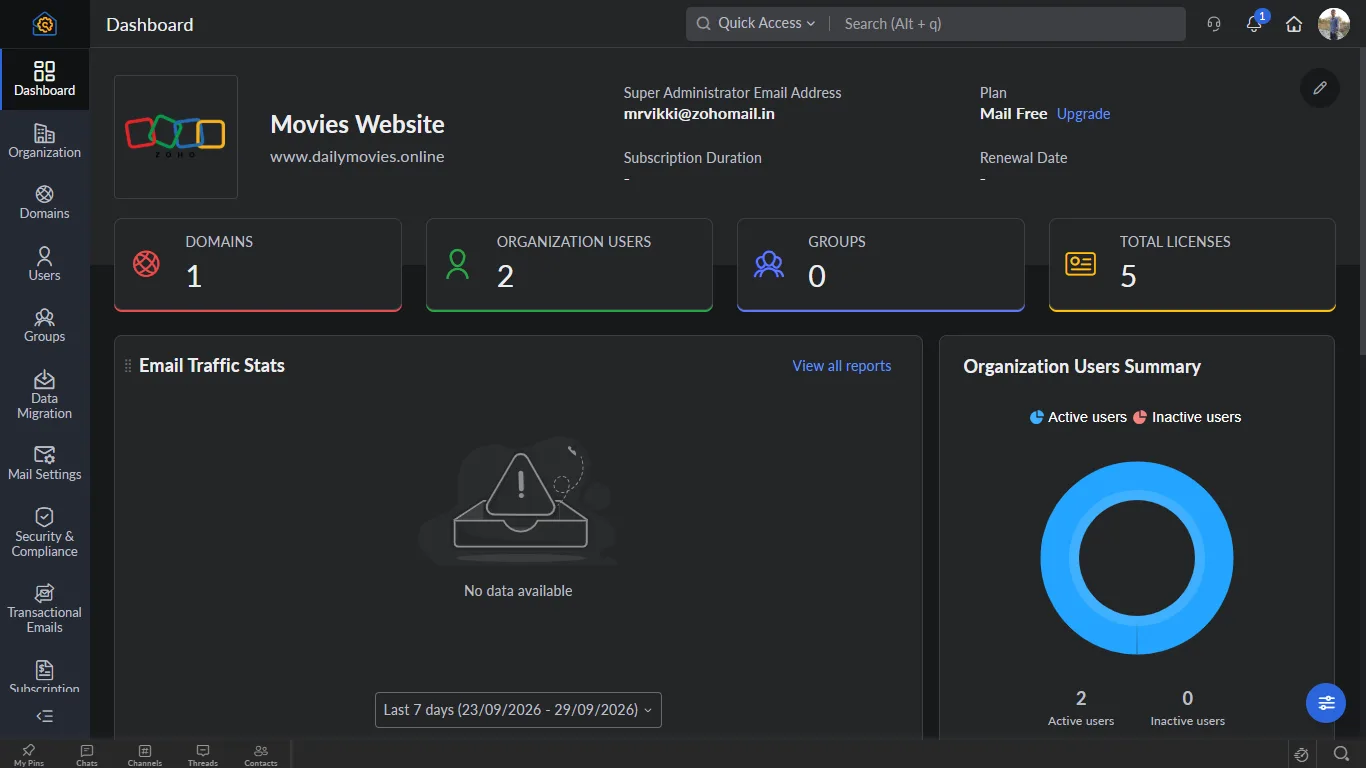
That's it! If you still have any questions or confusion, leave a comment below or reach out to us at support@domisec.in and domisec.in/contact-us We will be happy to help you if we find your message.
Thanks for choosing us. Grow your business, and good luck!
— Founders

Comments & Discussion
Leave a Comment
Share your questions, ideas, or architectural feedback. Your comment will appear immediately.
No comments yet
Be the first to share your thoughts or start a discussion on this topic.